
Every grip, tool, or repetitive movement starts rubbing the same spot. A blister keeps getting irritated. A callus repeatedly rubs against an object. A finger hurts during gripping. Bandages move or peel. And you are not sure whether a finger sleeve, guard, or bandage is the right option. This guide explains what to look for in a finger guard sleeve — fit, coverage, cushioning, flexibility, and activity compatibility. For a broader view of the FingerTipSplint range, start with finger protection and support solutions.
Table of Contents
- Why Blisters and Calluses Develop
- Blister vs Callus: Protection Strategy
- Guard vs Bandage vs Protector vs Splint
- 10 Features to Look For
- How to Choose the Right Guard
- Interactive Guard Selector
- How Much Coverage Do You Need?
- How Tight Should It Be?
- 3D Friction Protection Infographic
- Guards for Different Activities
- Guards for Blisters
- Guards for Calluses
- How to Put It On and Use It
- Recovery and Reassessment
- 10 Common Mistakes
- When a Guard Is Not Enough
- Doctor Advice
- Product Guide
- Guard vs Protector vs Splint
- Care Guide
- Buyer Checklist
- 7 Quick Tips
- FAQ
When choosing finger guard sleeves for blisters and calluses, look for a comfortable fit, adequate coverage, flexible material, cushioning, and secure positioning. The sleeve should reduce unnecessary rubbing without creating excessive pressure or restricting appropriate movement. Choose according to the affected finger, activity, and location of the friction rather than simply selecting the thickest option.
Why Blisters and Calluses Develop From Repeated Friction
What Happens When Skin Experiences Repeated Friction?
Repeated contact creates mechanical stress on the skin. The skin responds to that stress in different ways depending on the intensity and duration of the friction. A short burst of intense rubbing may produce irritation; repeated low-level friction over time may lead to thickened skin. Understanding this basic mechanism helps explain why protecting the contact point matters.
Why Fingers Are Particularly Vulnerable
Tools
Handles press against specific finger areas during gripping and twisting.
Pens and writing
The same finger side contacts the pen during extended writing sessions.
Sports equipment
Rackets, bars, and balls create repeated pressure points during play.
Musical instruments
Strings and bows press against fingertips during long practice sessions.
Repeated gripping
Manual work and repetitive tasks create cumulative friction.
Household activities
Cleaning, cooking, and DIY projects all involve repeated finger contact.
Why the Same Area Can Keep Becoming Irritated
Simply covering the area may not remove the source of repeated friction. If the same object or movement keeps rubbing the same spot, the skin will continue to be stressed. This introduces an important concept: protection works best when combined with identifying the friction source.
Finger Blister vs Callus: Why the Protection Strategy Can Differ
What Is a Friction Blister?
A friction blister involves repeated friction and localized irritation. Fluid can collect under the skin, creating a raised, tender area. Further rubbing can aggravate the blister and increase discomfort. Do not puncture or drain a blister yourself — this can increase the risk of infection.
What Is a Callus?
A callus develops from repeated pressure and friction over time. The skin thickens as a protective response. Calluses often develop gradually and are associated with recurring mechanical stress. The skin is thicker and often less sensitive than the surrounding area.
Why You Should Not Treat Them as Exactly the Same
| Feature | Friction Blister | Callus |
|---|---|---|
| Typical onset | Usually acute after intense friction | Usually gradual over repeated friction |
| Skin response | Fluid collection, tenderness | Thickened skin |
| Protection focus | Reduce further friction, protect sensitive area | Reduce additional mechanical stress |
| Main buying factor | Soft coverage without pressure | Cushioning and coverage over the callus |
Finger Guard Sleeve vs Bandage vs Finger Protector vs Finger Splint
| Option | Primary Purpose | Flexibility | Coverage | Typical Use |
|---|---|---|---|---|
| Finger guard sleeve | Friction and contact protection | High | Varies | Repetitive contact |
| Silicone finger protector | Cushioning and protection | High | Varies | Pressure and friction areas |
| Bandage | Local skin covering | High | Localized | Minor skin protection |
| Finger splint | Position and support | Lower | Structured | Movement and support needs |
When a Finger Guard Sleeve May Be Useful
A finger guard sleeve is useful for friction protection when the problem is repeated contact rather than a structural injury. It is a low-profile, flexible option for protecting a specific contact area during daily activities.
When a Finger Guard Is Not the Right Tool
- Severe or increasing pain
- Significant swelling
- Open or deep skin damage
- Possible infection (spreading redness, warmth, pus, fever)
- Numbness or tingling
- Significant movement problems
- Persistent or recurrent problems
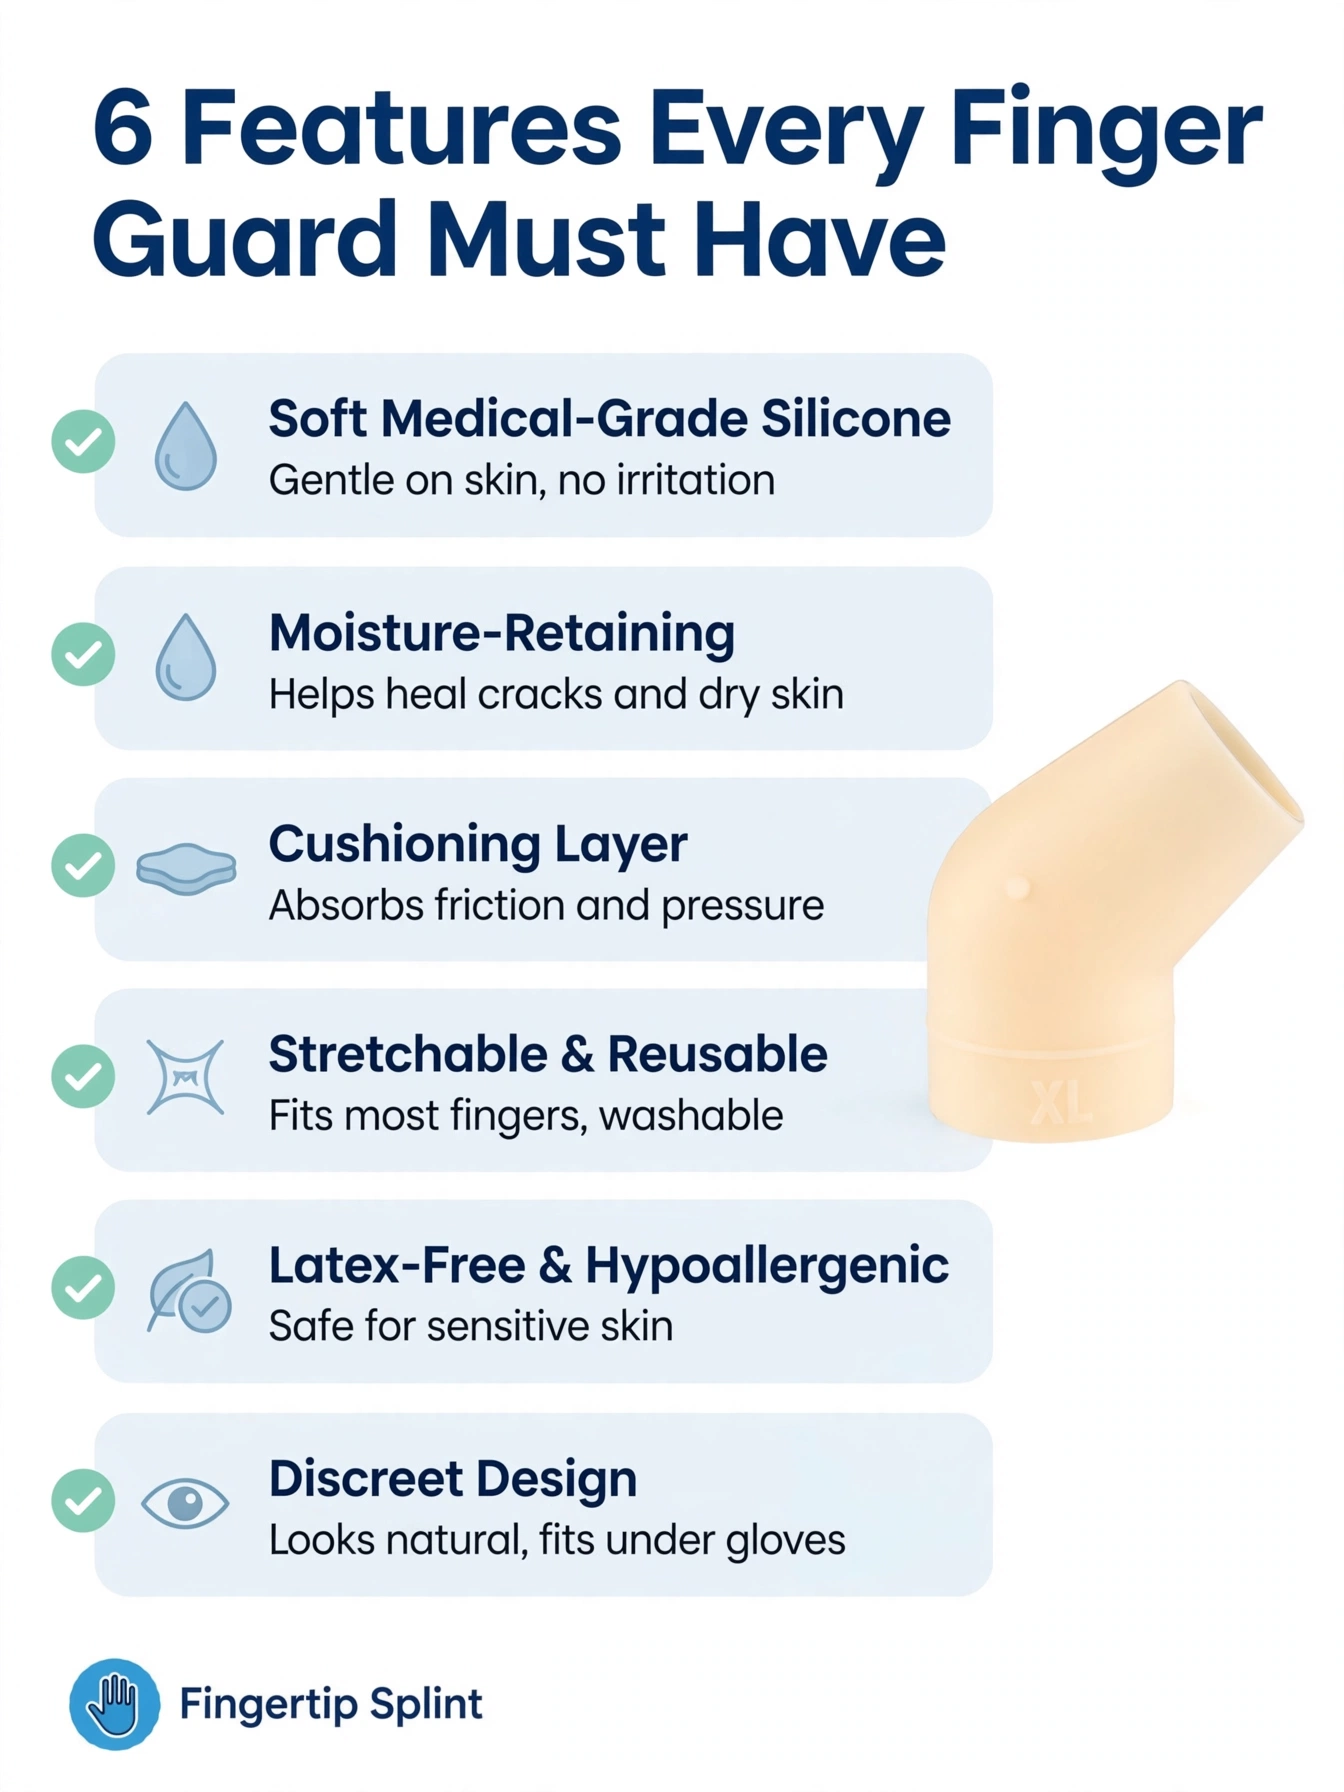
10 Features to Look For in Finger Guard Sleeves
1. Correct Finger Compatibility
What it means: The sleeve is designed for the specific finger. Why it matters: Finger circumference differs. What to check: Confirm the intended finger. Common mistake: Assuming one size fits every finger.
2. Coverage of the Friction Zone
What it means: The sleeve covers the area experiencing friction. Why it matters: Coverage that misses the contact point will not protect. What to check: Match the coverage to the specific location. Common mistake: Choosing coverage based on appearance.
3. Flexible Material
What it means: The sleeve bends with the finger. Why it matters: Flexibility allows normal movement. What to check: Confirm the material flexes during activity. Common mistake: Choosing a rigid sleeve for a flexible task.
4. Comfortable Thickness
What it means: The sleeve provides cushioning without bulk. Why it matters: Excessive thickness can reduce flexibility and comfort. What to check: Match thickness to activity and protection needs. Common mistake: Assuming thicker is always better.
5. Secure Positioning
What it means: The sleeve stays in place during use. Why it matters: A sliding sleeve does not protect the intended area. What to check: Confirm the sleeve stays positioned during movement. Common mistake: Assuming a loose sleeve will stay in place.
6. Smooth Edges
What it means: The edges of the sleeve do not dig into the skin. Why it matters: Rough edges can create new pressure points. What to check: Look for smooth, thin edges. Common mistake: Ignoring edge comfort until irritation develops.
7. Cushioning
What it means: The material absorbs and distributes pressure. Why it matters: Cushioning reduces direct mechanical stress. What to check: Sufficient thickness without compromising flexibility. Common mistake: Choosing a sleeve that is too thin to provide meaningful cushioning.
8. Appropriate Compression
What it means: The sleeve fits securely without excessive tightness. Why it matters: Excessive compression can cause numbness, tingling, or discoloration. What to check: Secure and comfortable, not tight. Common mistake: Using tightness as a measure of effectiveness.
9. Easy Cleaning
What it means: The sleeve can be cleaned according to the manufacturer’s instructions. Why it matters: Hygiene affects skin health. What to check: Clear cleaning guidance. Common mistake: Reusing without cleaning.
10. Compatibility With Your Activity
What it means: The sleeve is suited to what you do while wearing it. Why it matters: A sleeve for typing has different requirements from one for repetitive gripping. What to check: Match the sleeve to your activity. Common mistake: Buying without considering your daily routine.
How to Choose the Right Finger Guard Sleeve for a Blister or Callus
Step 1 — Find the Exact Friction Point
Do not just identify the finger. Identify the specific contact area. Is it the fingertip, the finger pad, the side, or near a joint?
Step 2 — Identify What Causes the Friction
Pen or pencil
Repeated pressure against the side of the finger during writing.
Tool handle
Grip pressure against the finger pad during manual work.
Sports equipment
Racket grip or bar contact during repeated motion.
Musical instrument
String or bow pressure against the fingertip.
Household equipment
Scissors, knives, or cleaning tools pressing against the finger.
Repetitive gripping
Repeated hand movement that concentrates force on one spot.
Step 3 — Decide How Much Coverage You Need
Small area versus broader coverage. Coverage should correspond to the area that experiences friction. More coverage is not automatically better — it can reduce flexibility and comfort.
Step 4 — Check Finger Size
Follow the manufacturer’s sizing method. Measure the finger circumference and compare with the product’s size chart. Do not guess based on appearance.
Step 5 — Check Movement
The guard should not create unnecessary restriction. Test bending, straightening, and gripping before extended wear.
Step 6 — Test It During the Activity
Use a light version of the activity first. Check that the guard stays in place and does not create new pressure points.
Step 7 — Inspect the Skin
Look for pressure, irritation, numbness, tingling, or unusual discoloration. If any concerning signs appear, remove the guard and reassess.
Interactive Finger Guard Selector
Answer four questions to see what product characteristics to compare. This is a feature-guidance tool, not a medical diagnosis.
Complete the four selections above to see what product characteristics to prioritize.
How Much Coverage Should a Finger Guard Sleeve Provide?
Fingertip Friction
Coverage for the very tip of the finger. Useful for typing, tapping, and handling small objects where the fingertip is the primary contact area.
Finger Pad Friction
Coverage for the palmar surface. Useful for gripping and pressing tasks where pressure concentrates on the pad.
Side-of-Finger Friction
Coverage along one side. Useful when a pen, tool, or instrument presses against the side of the finger.
Joint-Area Friction
Coverage around a joint. Movement becomes particularly important here — the guard must allow bending and straightening without restriction.
Broader Finger Coverage
Coverage across a larger portion of the finger. More coverage can mean more protection, but not necessarily better comfort or usability. Match the coverage to the specific friction point.
How Tight Should a Finger Guard Sleeve Be?
Secure vs Too Tight
Too loose
- Sliding during activity
- Rotating around the finger
- Exposing the friction point
Appropriate
- Secure positioning
- Comfortable contact
- Stays in place during activity
Too tight
- Numbness
- Tingling
- Discoloration
- Increasing pain
Warning Signs
- Numbness
- Tingling
- Significant discoloration
- Increasing pain
- Excessive pressure
- Persistent skin irritation
3D Interactive Finger Guard Sleeve Infographic
The interactive 3D component explorer below shows how a finger guard sleeve interacts with the finger and a contact object. Click each component to see what it does and why it matters.
Friction Protection Component Explorer
Click a component to learn what it does and why it matters when you are buying.
Conceptual illustration: direct contact → protected contact. A finger guard sleeve reduces friction but does not guarantee prevention of blisters or calluses.
Finger Guard Sleeves for Different Activities
Writing and Pens
Repetitive pressure around common finger contact points — the side of the middle finger, the tip of the index finger. A flexible sleeve with side coverage and comfortable edges is usually more practical than a thick cap.
Tools and Manual Work
Repeated gripping and friction from tool handles. A sleeve that stays secure during movement and cushions the contact area is more useful than one that slides or bunches.
Gym and Exercise
Contact with bars and equipment. A sleeve with cushioning and sweat handling is usually more practical than a smooth, slippery one.
Racquet and Ball Sports
Repetitive grip during play. A low-profile sleeve that preserves grip and does not interfere with the racket or ball contact is usually more practical. A finger guard does not prevent sports injuries.
Musical Instruments
String and bow contact during practice sessions. A flexible sleeve that preserves fingertip sensitivity and dexterity is usually more practical than a thick, rigid cover.
Crafts and Hobbies
Repetitive precision work creating localized friction. A sleeve with targeted coverage and comfortable edges is usually more practical than a full-finger cover.
Finger Guard Sleeves for Blisters: What to Consider
Protect the Area From Additional Friction
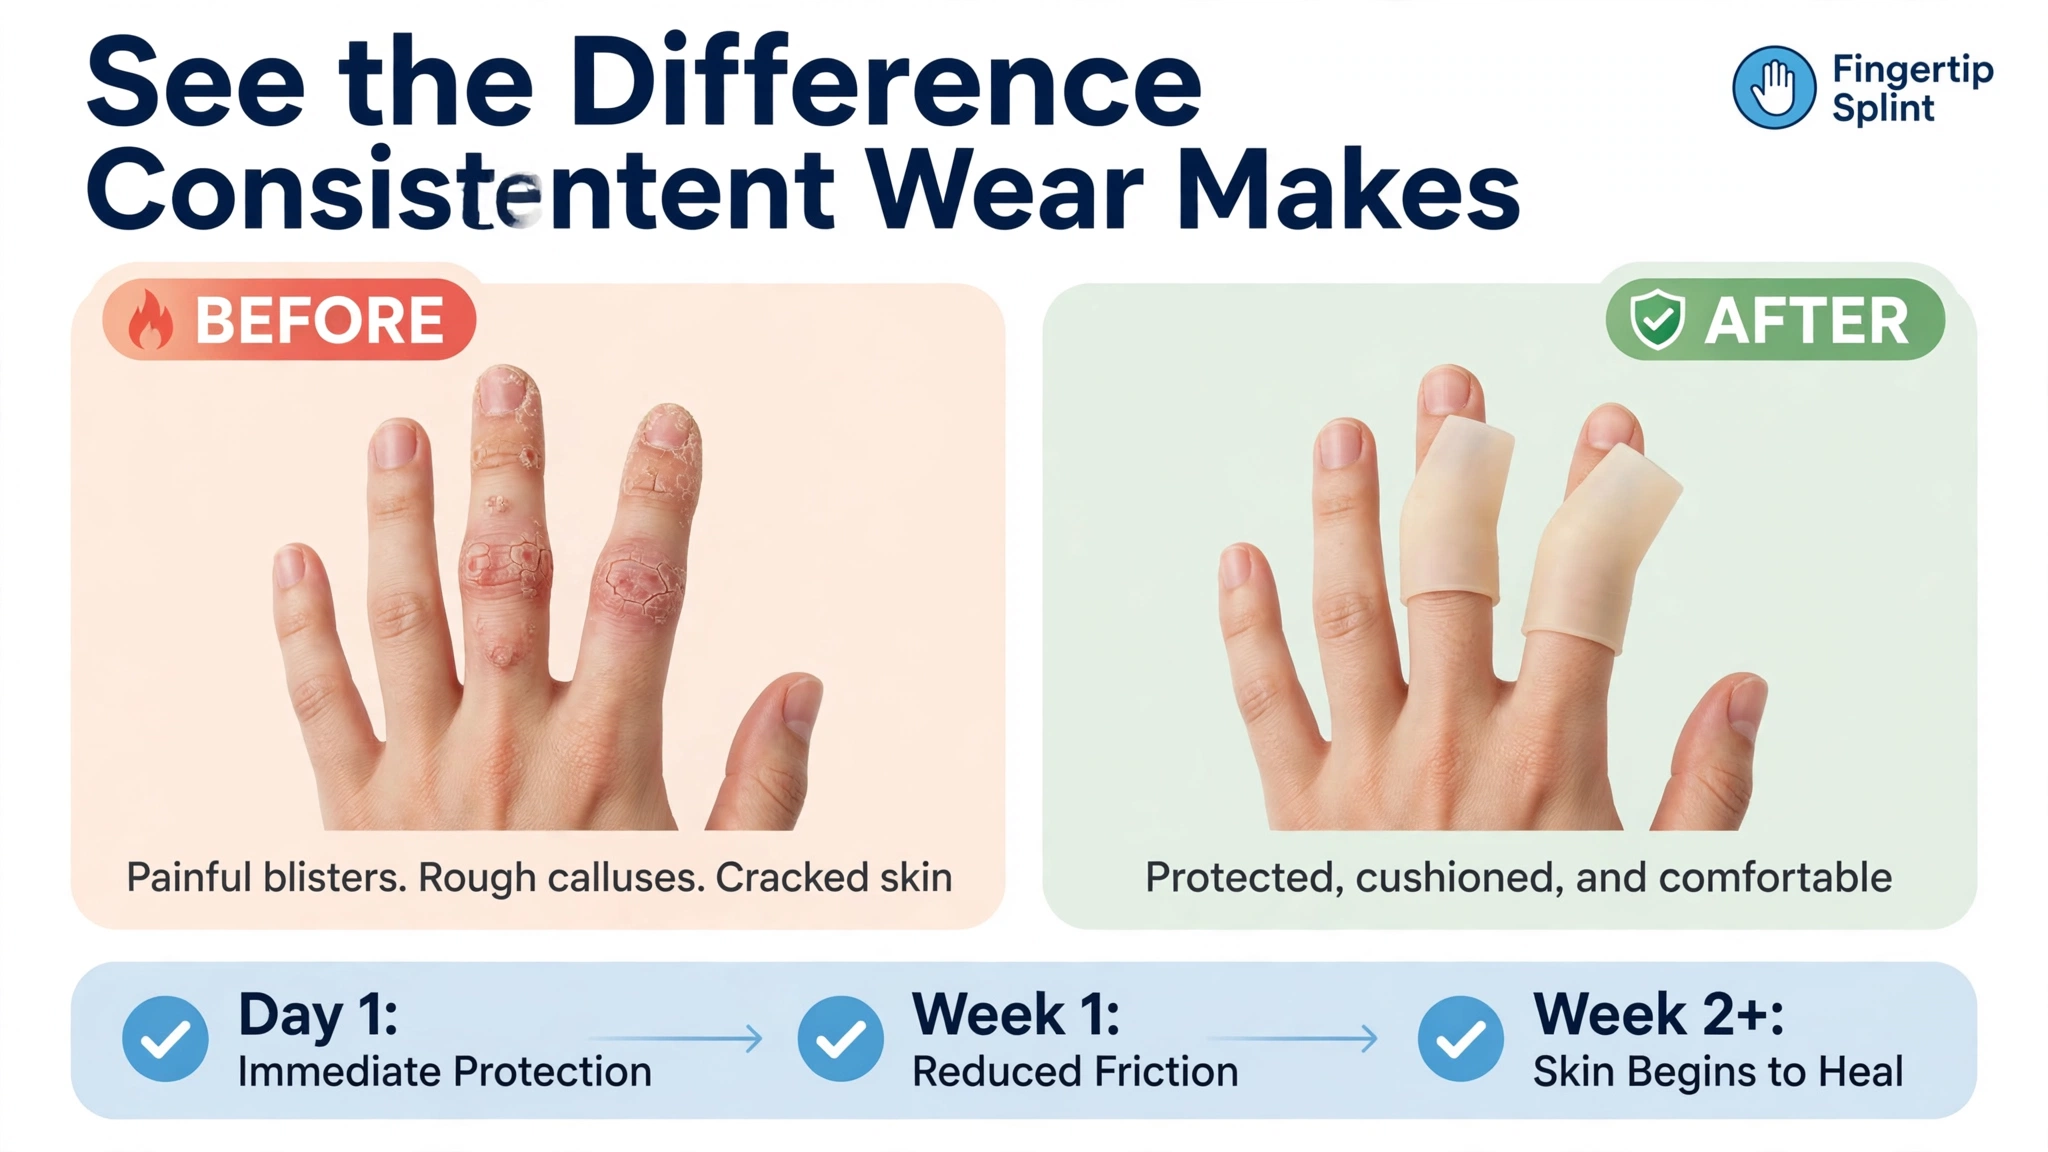
A sleeve creates a barrier between the blister and the surface causing friction. This can reduce further irritation and make movement more comfortable.
Avoid Excessive Pressure Over a Sensitive Area
A blister is tender. A sleeve that presses too firmly on the blister can increase discomfort. Choose a sleeve that provides coverage without excessive compression.
Consider Whether the Skin Is Intact
If the blister is intact, a sleeve can provide protection. If the blister has opened or shows signs of infection, do not cover it with a sleeve. Seek professional advice.
Do Not Use a Sleeve to Ignore Worsening Symptoms
If the blister is worsening, increasingly painful, or showing signs of infection, covering it with a sleeve is not the solution. Seek professional assessment.
When a Blister Needs More Than a Protective Sleeve
- Signs of infection (spreading redness, warmth, pus, fever)
- Severe or increasing pain
- Extensive skin damage
- Blister that does not improve
- Recurring blisters in the same location
Finger Guard Sleeves for Calluses: What to Consider
Understand the Source of Repeated Pressure
A callus develops because of repeated mechanical stress. If the source of that stress is not addressed, the callus will keep returning even with a protective sleeve.
Use Protection to Reduce Additional Mechanical Stress
A sleeve can reduce additional friction and pressure on the callus, making the area more comfortable during activity.
Choose Appropriate Coverage
Coverage should match the location of the callus and the contact point causing the friction. More coverage is not automatically better.
Do Not Assume the Sleeve Removes the Callus
A sleeve is not a treatment for the callus itself. It reduces additional mechanical stress, but it does not remove the thickened skin.
Reassess If the Callus Keeps Returning
If the callus keeps returning despite protection, the source of the pressure needs attention. This may involve changing how you grip a tool, adjusting an instrument, or modifying your routine.
How to Put On and Use a Finger Guard Sleeve
Recovery and Reassessment Timeline
This is a reassessment framework, not a promised healing schedule. Duration depends on the underlying cause and your individual situation.
Stage 1 — Reduce Repeated Friction
Identify and reduce the triggering contact where practical. If the same object keeps rubbing the same spot, consider how to change the contact.
Stage 2 — Protect the Area
Use appropriate protection according to product instructions. Confirm that the sleeve covers the specific friction point.
Stage 3 — Monitor Comfort and Skin Changes
Check whether the area is becoming more irritated or more comfortable. Look for signs of pressure or worsening skin.
Stage 4 — Reassess the Activity
Ask whether the same object or movement is still rubbing the same spot. If it is, the source of friction needs attention.
Stage 5 — Seek Professional Advice When Needed
Especially for worsening symptoms, significant pain, increasing swelling, signs of infection, persistent problems, or unexplained recurring lesions.
10 Mistakes People Make With Finger Guard Sleeves
A sleeve that misses the friction point will not protect it.
What to do instead: identify the specific contact area first.
Excessive pressure can cause numbness, tingling, or discoloration.
What to do instead: secure and comfortable, not tight.
Thicker material can reduce flexibility and comfort.
What to do instead: match thickness to your activity and protection needs.
If the same object keeps rubbing the same spot, the problem will return.
What to do instead: address the friction source as well as protecting the area.
Skin irritation can develop without immediate awareness.
What to do instead: inspect skin after each wear.
A sleeve is not designed for open wounds, infection, or significant skin damage.
What to do instead: seek professional advice for concerning skin.
Price does not tell you whether the sleeve fits or protects the right area.
What to do instead: check fit, coverage, and material.
A sleeve for typing may not be right for repetitive gripping.
What to do instead: match the sleeve to your activity.
A sleeve reduces friction but does not remove the thickened skin.
What to do instead: understand what the sleeve is designed to do.
Numbness, tingling, or discoloration are signs to stop and reassess.
What to do instead: remove the sleeve and seek advice if symptoms persist.
When a Finger Guard Sleeve Is Not Enough
A protective sleeve can manage contact friction, but it does not replace medical assessment when something concerning is happening.
- Severe or increasing pain
- Significant swelling
- Open or deep skin damage
- Possible infection (spreading redness, warmth, pus, fever)
- Numbness or tingling
- Significant movement problems
- Persistent or recurrent problems
Doctor Advice: What Should You Actually Prioritize?
This section is written in the tone of a practical professional checklist. It is not a diagnosis and does not replace an in-person assessment.
Identify the source of friction
Understanding what is causing the repeated contact helps you protect the right area and address the cause.
Protect without creating excessive pressure
A sleeve that is too tight can create new problems.
Monitor the skin
Check the skin after each wear for signs of irritation, pressure, or worsening.
Match coverage to the problem
Coverage should correspond to the specific friction point, not just the finger.
Do not ignore persistent symptoms
Symptoms that persist or worsen deserve professional assessment.
A finger guard is not a splint
These are different product categories designed for different purposes.
Additional trusted resources include the Mayo Clinic blisters overview, the Cleveland Clinic corns and calluses resource, the MedlinePlus blisters page, the American Academy of Dermatology guidance on corns and calluses, the NHS blisters page, the WebMD blisters overview, and the Healthline blisters resource.
FingerTipSplint Silicone Finger Sleeve Protectors: Product Guide
Use this section as a worked example of how to evaluate a finger guard sleeve against the criteria in this guide. The product being evaluated is the silicone finger sleeve protectors from FingerTipSplint.
Fingertip Splint Silicone Finger Sleeve Protectors
- Material: Soft, flexible silicone designed for comfortable skin contact
- Sleeve design: Low-profile construction for everyday use
- Coverage: Check the product page for specific coverage details
- Flexibility: Designed to flex with the finger during movement
- Intended finger: Check the product page for specific finger compatibility
- Fit: Check the product page for sizing information
- Everyday usability: Suitable for typing, writing, and daily activities
Who May Consider This Type of Finger Protection?
People experiencing repetitive finger friction
From writing, tools, instruments, or manual work.
Buyers wanting flexible coverage
Those who prefer a low-profile option over a bulky structured device.
People needing cushioning around contact areas
Where pressure or friction causes discomfort during activity.
Buyers who do not want a bulky splint
Those who need protection without movement restriction.
Product Fit Checklist
Before purchase, confirm: correct finger, correct size, correct coverage, suitable for intended activity, comfortable material, and clear manufacturer instructions. For buyers comparing different finger protection options, explore the FingerTipSplint’s finger-support collection. For a general buying guide, see our article on the silicone finger protector buying guide for fit, comfort, and coverage. For cracks, corns, and calluses, see our guide on the best silicone finger sleeves for cracks, corns, and calluses.
Finger Guard Sleeve vs Silicone Finger Protector vs Finger Splint
| Feature | Finger Guard Sleeve | Silicone Finger Protector | Finger Splint |
|---|---|---|---|
| Friction protection | Primary consideration | Strong consideration | Not primary |
| Cushioning | Often | Often | Varies |
| Flexibility | Usually high | Usually high | Lower |
| Movement restriction | Low | Low | Higher |
| Main buying factor | Contact protection | Fit and coverage | Support and position |
Silicone Finger Guard Care Guide
Cleaning
Follow the manufacturer’s cleaning instructions. In general, silicone can be washed with mild soap and warm water. Rinse thoroughly.
Drying
Ensure the guard is completely dry before reapplying to prevent moisture buildup against the skin.
Storage
Store in a clean, dry place away from direct sunlight and sharp objects.
Skin Checks
Check the skin after each wear. Look for redness, pressure marks, or irritation. If concerning signs develop, remove the guard and reassess.
Product Replacement
Replace the guard if it becomes torn, stretched, discolored, or loses its shape. A worn guard may not provide the same protection or fit.
Buyer Checklist: Before You Order
Click each item to confirm. Aim to check all 9 before buying.
7 Quick Tips for Blister and Callus Protection
Frequently Asked Questions
A finger guard sleeve can create a barrier between the blister and the surface causing friction. This can reduce further irritation and make movement more comfortable during activity. However, a sleeve is a protective barrier, not a treatment for the blister itself.
If the blister is open, showing signs of infection, or not improving, do not cover it with a sleeve. Seek professional advice instead.
A finger guard sleeve can provide cushioning and reduce additional mechanical stress on a callus during activity. This can make the area more comfortable. However, a sleeve does not remove the callus or address the underlying cause of the pressure.
If the callus keeps returning despite protection, the source of the pressure needs attention. Changing how you grip a tool, adjusting an instrument, or modifying your routine may be necessary. For a broader look at corns and calluses, see our guide on the best silicone finger sleeves for cracks, corns, and calluses.
It should be secure and comfortable, not excessively tight. You should be able to wear it without numbness, tingling, significant discoloration, or increasing pain. Excessive tightness does not improve protection — it creates new problems.
If concerning symptoms occur, remove the sleeve and reassess the fit rather than tightening it further.
This depends on the product, your skin condition, your activity, and your individual tolerance. A low-profile silicone sleeve may be comfortable for extended wear, but regular skin checks are important. Remove the sleeve periodically, inspect the skin for redness or pressure marks, and follow the manufacturer’s guidance on wear duration.
If you notice skin irritation, numbness, or discomfort, remove the sleeve and reassess. For general buying guidance, see our article on the silicone finger protector buying guide for fit, comfort, and coverage.
It depends on the state of the skin. If the blister is intact and not showing signs of infection, a sleeve may provide protection from further friction. If the blister is open, oozing, showing signs of infection, or causing significant pain, do not cover it with a sleeve. Seek professional advice.
Follow the product’s instructions and monitor the skin carefully during wear. If the blister worsens or does not improve, stop using the sleeve and seek medical attention.
Measure the finger circumference according to the manufacturer’s specific instructions. Compare your measurement with the product’s size chart. Confirm the intended finger compatibility and consider the specific friction point that needs coverage.
Do not guess based on another person’s size or on general hand size. If you are between sizes, follow the manufacturer’s guidance. Perform a short fit test before extended wear: bend, straighten, grip a light object, and check the skin and sensation.
Stop using the sleeve if you experience numbness, tingling, significant discoloration, increasing pain, excessive pressure, or worsening irritation. These are warning signs that the sleeve may not be appropriate for your situation or that the fit needs adjustment.
If symptoms persist after removing the sleeve, seek professional assessment. A protective sleeve is not designed to manage significant injuries, infections, or persistent skin problems.
Protect the Friction Point Without Guessing
Start with the friction point, then choose the protection. Identify the contact. Choose coverage. Check fit. Test comfort. Monitor the skin. Evaluate the FingerTipSplint Silicone Finger Sleeve Protectors against these criteria before deciding.
Explore the FingerTipSplint’s finger-support collection for other support options, check the FingerTipSplint FAQ, or use the request-a-quote page for bulk or business purchasing. For medical finger splint supply, see the medical finger splint supplier page.
View the Product Explore Finger ProtectionFinal Takeaway: Protect the Friction Point, Not Just the Finger
The right finger guard sleeve is not about finding the thickest silicone product. It is about appropriate protection with a comfortable fit and enough flexibility for the intended activity. Before you buy, identify the specific friction point, choose coverage that matches it, check the fit, and confirm that the sleeve stays in place during your activity.
If symptoms persist, worsen, or involve severe pain, significant swelling, signs of infection, numbness, or persistent skin problems, do not simply cover the area indefinitely. Seek appropriate medical evaluation. For medical finger splint supply and distribution, see the medical finger splint supplier page and the finger splint distributor page. For the full FingerTipSplint range, visit the FingerTipSplint homepage.